LIFESTYLE
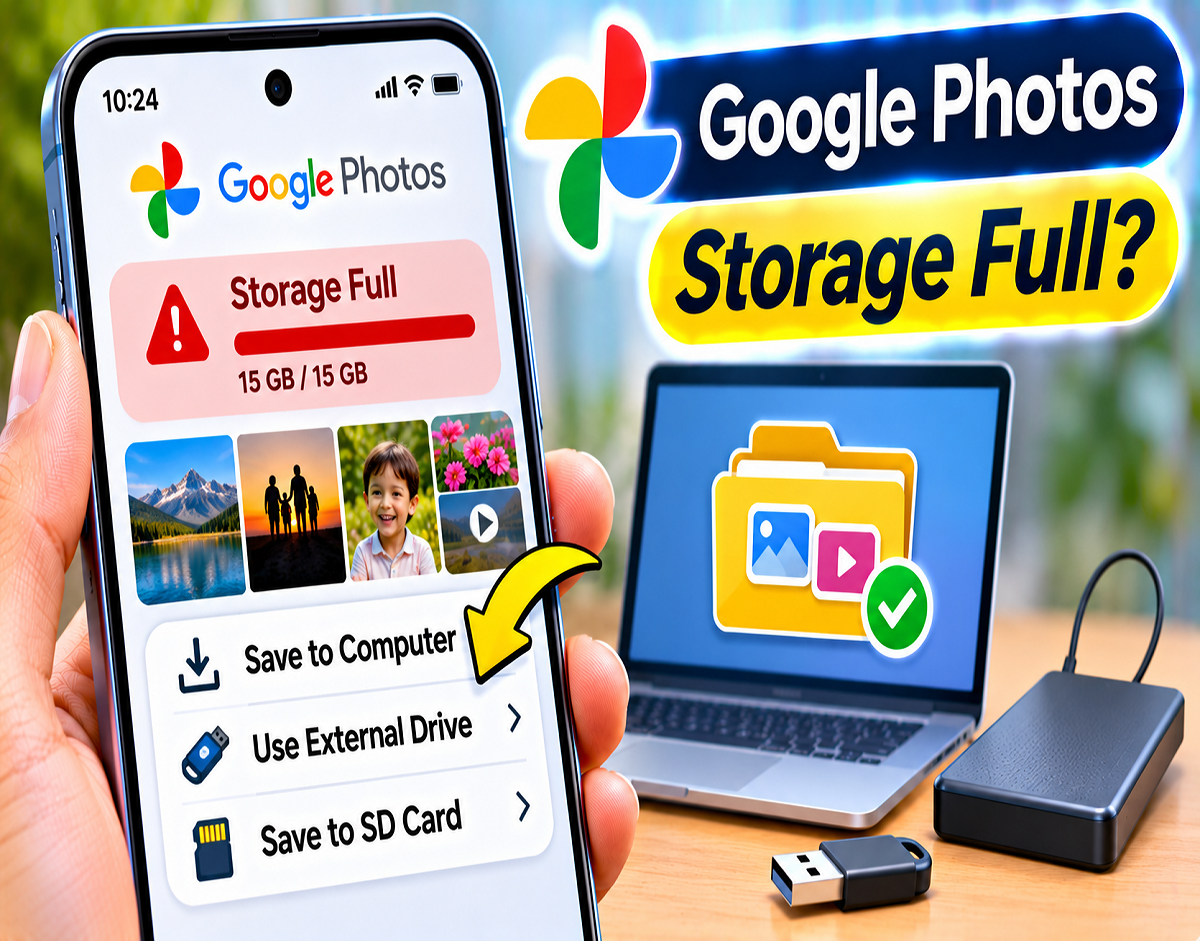
Google Photos Storage Full? 5 Easy Ways to Back Up Photos Without Paying for Cloud Storage
Meta Description: Running out of Google Photos or iCloud storage? Learn how to back up photos and videos from Android and iPhone to a computer, external hard drive or USB drive without a paid cloud subscription.
Photo Backup Tips 2026: Smartphone cameras now capture high-resolution photographs and videos that can quickly consume available storage. For users who regularly record videos or take hundreds of pictures, the free space offered by Google Photos, Apple iCloud or Microsoft OneDrive may not be sufficient.
However, running out of cloud storage does not necessarily mean you must purchase a monthly subscription. Android and iPhone users can save their photographs and videos on computers, external hard drives and compatible USB flash drives.
According to a Gadgets Now report, creating local backups is a practical way to preserve personal photo libraries without paying recurring cloud storage charges.
The most important precaution is to maintain multiple copies of valuable files and verify that the backup works before deleting anything from your smartphone.
Why Does Google Photos Storage Fill Up So Quickly?
Modern smartphones produce larger image and video files, particularly when recording in high resolution.
Google provides 15GB of free storage with a standard Google Account, shared across Google Photos, Google Drive and Gmail.
This means emails with large attachments and documents stored in Google Drive can reduce the space available for photographs.
Apple iCloud and Microsoft OneDrive also provide limited free storage.
Here is a comparison of the commonly available free allowances:
| Cloud Service | Free Storage | Important Detail |
|---|---|---|
| Google Account | 15GB | Shared across Gmail, Drive and Photos |
| Apple iCloud | 5GB | Shared across supported iCloud services |
| Microsoft OneDrive | 5GB | Used for files and photo storage |
Storage allowances may vary depending on the account, plan and applicable service terms.
1. Back Up Android Photos to a Windows Computer
Transferring photos to a computer is one of the simplest ways to create a local backup.
Steps:
- Connect your Android phone to a Windows computer using a compatible USB cable.
- Unlock the phone and select File Transfer or Photo Transfer from the USB notification.
- Open File Explorer > This PC and select your phone.
- Navigate to Internal Storage > DCIM > Camera.
- Copy the required photos and videos to a folder on your computer.
- Open a few transferred files to confirm that the backup is readable.
Also check the Screenshots, Downloads and messaging-app folders, as important photographs may be stored outside the Camera folder.
2. Transfer iPhone Photos to a Mac
Mac users can import photographs and videos through Apple's Photos application.
Steps:
- Connect your iPhone to the Mac using a compatible USB cable.
- Unlock the iPhone and approve the Trust This Computer prompt if displayed.
- Open the Photos application on your Mac.
- Select your iPhone under Devices.
- Choose Import Selected or Import All New Photos.
- Wait for the import to finish and verify that the files appear in your Mac's photo library.
If your iPhone uses optimized storage with iCloud Photos, some original files may need to be downloaded before they can be transferred.
3. Save iPhone Photos to a Windows PC
You do not need a Mac to back up photographs from an iPhone.
Windows users can import supported photos and videos through the Microsoft Photos application.
Steps:
- Connect the iPhone to your Windows computer using a USB cable.
- Unlock the phone and select Trust if prompted.
- Open the Windows Photos application.
- Select Import and choose the connected iPhone.
- Select the photographs and videos you want to transfer.
- Complete the import and verify the saved files.
If some photographs are missing, check whether their original versions are stored in iCloud rather than locally on the device.
4. Back Up Your Photo Library to an External Hard Drive
An external hard drive can be useful for storing thousands of photographs and large video files.
Although purchasing a drive involves an initial expense, it does not require a monthly cloud storage subscription.
Steps:
- Transfer your smartphone photographs to a computer.
- Connect an external hard drive to the computer.
- Create a folder for your photo backup.
- Copy the photographs and videos into that folder.
- Open several files to confirm that the transfer succeeded.
- Safely eject and disconnect the drive.
Organizing folders by year or event can make older photographs easier to locate.
However, an external hard drive can fail or become damaged. Avoid keeping your only copy of important photographs on one drive.
5. Save Photos to a USB Flash Drive
A USB flash drive is another convenient option, especially for smaller collections of important photographs.
Some compatible USB drives can connect directly to smartphones through USB-C or supported Lightning connections.
Steps:
- Connect a compatible USB drive to your smartphone or computer.
- Create a folder for the backup.
- Select the photographs and videos you want to preserve.
- Copy the files to the USB drive.
- Wait for the transfer to finish.
- Safely eject the drive and check the saved files.
Before purchasing a USB drive, verify that it supports your smartphone's connector and file transfer requirements.
Which Photo Backup Method Should You Choose?
| Backup Method | Main Advantage | Important Limitation |
|---|---|---|
| Windows PC | Convenient for Android and iPhone users | Requires sufficient computer storage |
| Mac | Easy iPhone photo importing | Requires a compatible Mac |
| External hard drive | Suitable for large photo libraries | Can fail or become damaged |
| USB flash drive | Portable and convenient | Limited capacity depending on model |
| Free cloud storage | Accessible through supported online services | Storage allowance is limited |
For large photo collections, combining computer storage with an external drive may be more practical than relying on a single location.
Follow the 3-2-1 Backup Rule to Protect Your Photos
The 3-2-1 backup rule is a widely used approach for reducing the risk of data loss.
It recommends maintaining:
- 3 copies: Keep the original files and two additional backup copies.
- 2 storage media: Store the files using at least two different storage devices or media.
- 1 separate location: Keep at least one backup in another secure location.
For example, you could retain photographs on your smartphone, copy them to a computer and store another copy on an external hard drive kept separately.
This reduces dependence on any single device.
How Often Should You Back Up Your Photos?
The ideal backup frequency depends on how frequently you capture new photographs and videos.
For casual smartphone users, a monthly backup may be sufficient.
People who regularly record videos, travel or create digital content may benefit from weekly backups.
A simple routine involves transferring new files, updating the external backup and checking that important photographs remain accessible.
After completing the process, disconnect the external drive and store it securely.
Mistakes to Avoid When Backing Up Photos
Relying on only one device: A single hard drive or USB drive can fail, so important files should have an additional copy.
Confusing synchronization with backup: Some cloud services synchronize deletions across connected devices. Deleting a photograph from one location may also affect synchronized copies.
Deleting files before verification: Always open a selection of transferred photographs and videos before removing originals.
Forgetting video files: High-resolution videos can consume significant storage, so check the available capacity of your backup device.
Using messaging apps as your only backup: Applications such as WhatsApp may compress shared photographs. Direct file transfers are generally more suitable for preserving original quality.
Can You Delete Photos From Your Phone After Backing Them Up?
Yes, but only after confirming that the files have been transferred successfully and that important photographs have another secure copy.
Check that the backup contains the expected photos and videos, and open several files to confirm that they are not corrupted.
If Google Photos or iCloud Photos synchronization is enabled, understand how deleting a photograph from your phone may affect other synchronized copies.
A verified, independent backup is safer than relying solely on synchronized storage.
Conclusion
A full Google Photos or iCloud account does not mean you must immediately purchase additional cloud storage.
Android and iPhone users can preserve photographs and videos through local backups on computers, external hard drives and compatible USB flash drives.
For better protection, maintain multiple copies, organize your files and verify each backup before deleting the originals.
The simplest approach is to combine a local computer backup with a second copy on an external storage device, while using available free cloud storage for selected important files.