Food & recipe
Chana Koliwada: Make spicy Chana Koliwada with garlic and green chillies – here’s the recipe...
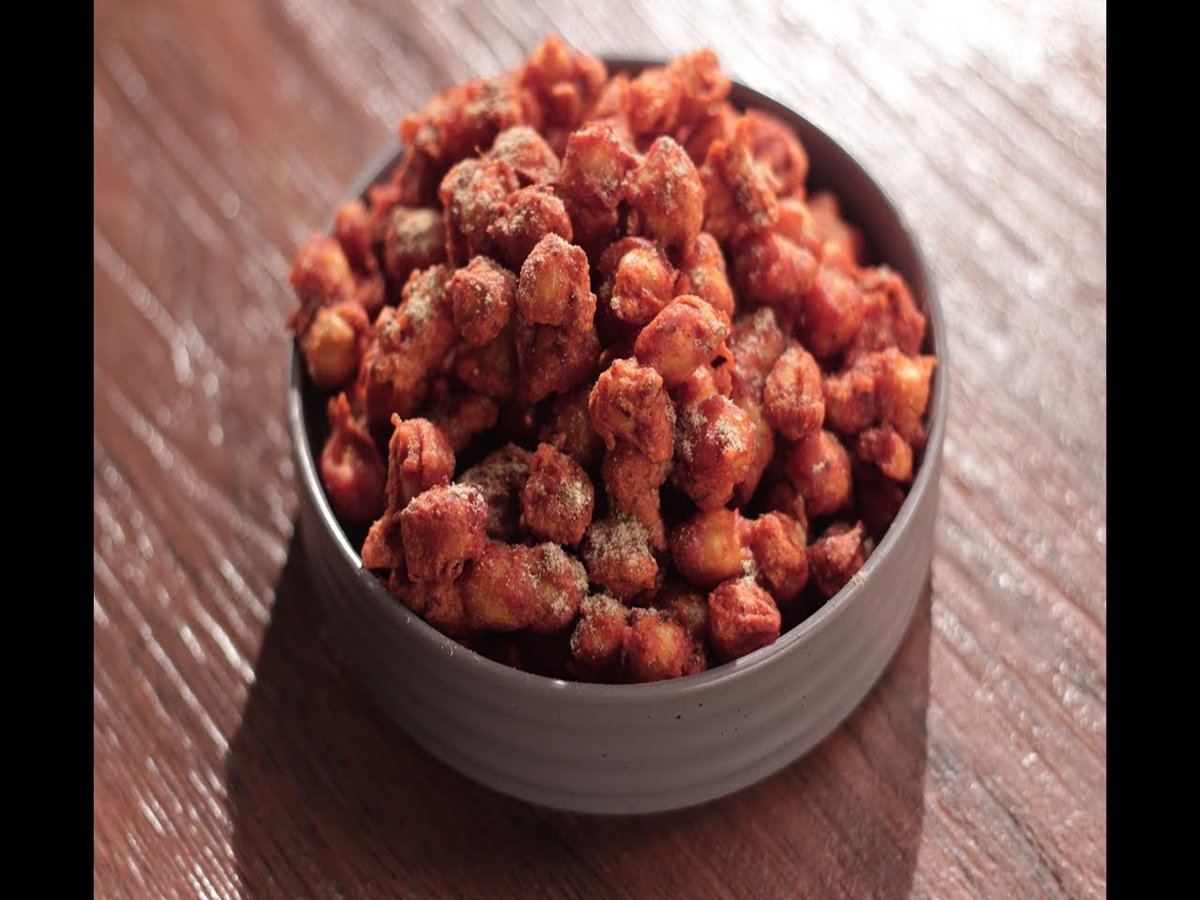
Chana Koliwada Recipe: While chickpeas (kabuli chana) are commonly used to make *chole* (curry) or *chaat*, they can also be transformed into a unique snack by coating them in a spiced batter. The hallmark of Chana Koliwada is its crispy exterior paired with a soft, tender interior. A paste of ginger, garlic, and green chilies adds a spicy kick, while a coating of gram flour (*besan*) and cornflour turns wonderfully crunchy upon frying. Serving it with some fried garlic cloves and green chilies further enhances the flavor. It makes for a perfect snack to enjoy with evening tea, while spending time with family on a day off, or when hosting guests who crave something savory and zesty. Note that for a quick preparation, the chickpeas should be boiled in advance.
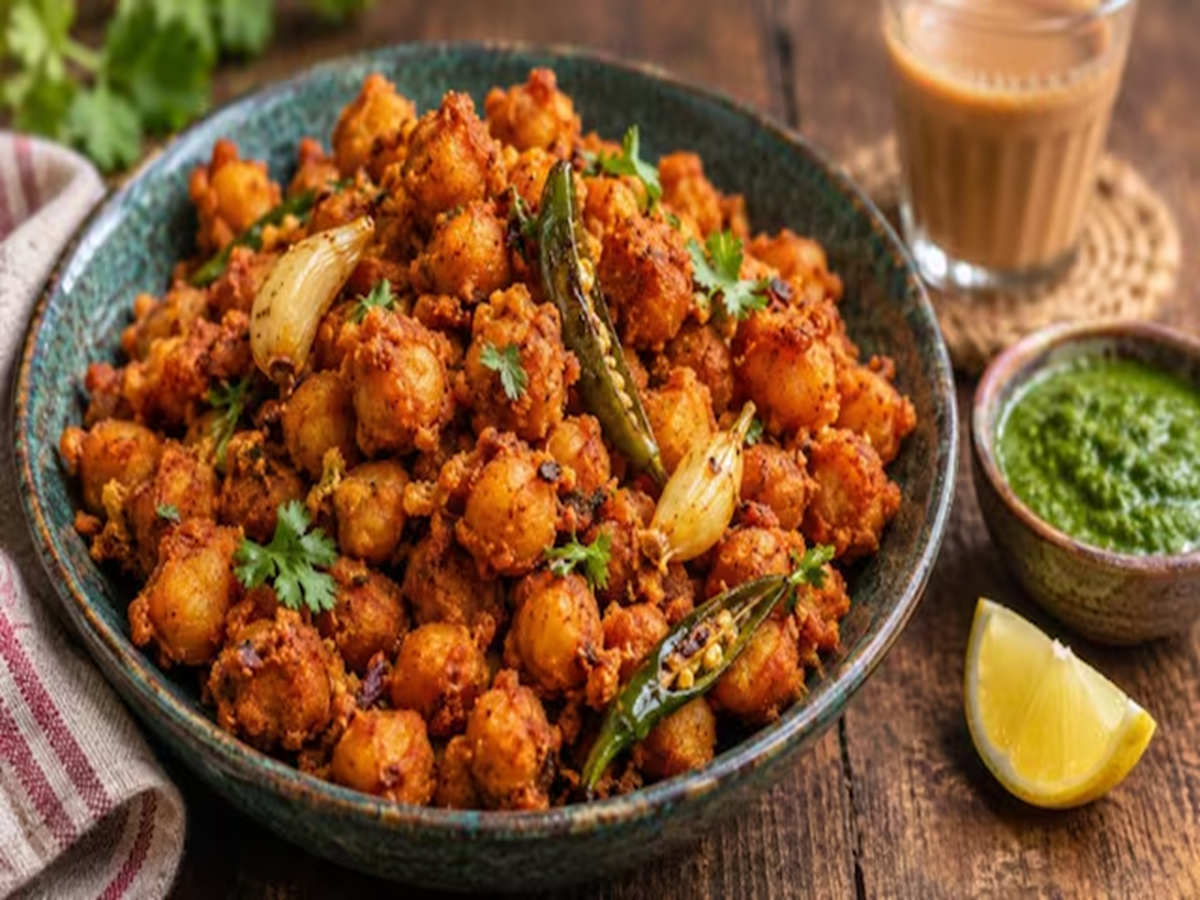
If you are starting with dried chickpeas, you will need to account for the additional time required for soaking and boiling. To get this snack just right, ensure the chickpeas are cooked until soft, drained thoroughly of any excess water, and coated with the perfect batter consistency. If the chickpeas are too wet, the spice coating won't adhere properly, and the hot oil may splatter during frying.
Adjust the quantity of ingredients based on the amount of chickpeas.
For a home-style batch, you can start with about two cups of boiled chickpeas. For this, prepare a coating using two tablespoons of gram flour (*besan*) and three to four tablespoons of cornflour—specifically white cornstarch, not yellow cornmeal. You will also need one tablespoon of ginger-garlic-green chili paste, a little mustard oil, turmeric powder, coriander powder, cumin powder, red chili powder, and salt. Additionally, keep some garlic cloves, green chilies, and oil for frying on hand. Since the amount of coating required may vary depending on the moisture level of the chickpeas, add the ingredients gradually rather than all at once, adjusting as needed.
Prepare to soak the chickpeas in advance.
Sort and wash the chickpeas (kabuli chana), then soak them in plenty of water for six to eight hours or overnight. Ensure there is enough water so that the chickpeas remain submerged even after they expand. In warm weather, you can keep the container in the refrigerator while they soak. Afterward, drain the water and rinse the chickpeas with fresh water. Cook them in a pressure cooker with fresh water and a little salt. Do not rely solely on a specific number of whistles (like two or three) as a definitive measure; the cooking time may vary depending on the variety of chickpeas and the specific pressure cooker used. Open the lid only after the pressure has released naturally.
The chickpeas should be soft but not falling apart.
Test a cooked chickpea by pressing it; it should be soft all the way through, but it should not crumble or fall apart at the slightest touch. If the chickpeas are too firm, the dish won't be pleasant to eat, while overcooked, mushy chickpeas may break apart when the spices are added. Once cooked, drain the chickpeas in a colander and let the water drip off completely. Then, spread them out on a clean plate or a cotton cloth to allow the surface moisture to dry. Do not rush to add hot, damp chickpeas directly into the coating mixture; this simple step helps in achieving a crispy outer layer.
Prepare the spice mixture.
In a deep bowl, add one to two teaspoons of mustard oil. Stir in a paste made of ginger, garlic, and green chilies. Add a pinch of turmeric, half a teaspoon of coriander powder, half a teaspoon of cumin powder, and red chili powder to taste. If you prefer less heat, use a smaller amount of red chili. Remember that salt was already added when boiling the chickpeas, so adjust accordingly. Mix everything well with a spoon. Be careful not to add too much salt or chili in an attempt to make the flavors stronger.
Create the coating using gram flour (besan) and cornflour.
Add gram flour and cornflour to the spice mixture. Gradually add a little water at a time to create a thick paste. It is best to start with a small amount of water, as the ginger-garlic paste already contains moisture. The coating should adhere to the chickpeas without forming thick, clumpy layers around them. If the batter is too thin, it may separate as soon as it hits the hot oil; conversely, a coating that is too dry will not coat the chickpeas evenly. Start by adding a few chickpeas to the mixture, and if the consistency looks right, proceed to add the rest.
Coat the chickpeas gently.
Add the boiled, dried chickpeas to the prepared paste. Mix them slowly using a spoon or your hands, ensuring each chickpea is covered with a thin, uniform layer. Avoid pressing or mashing them. If the chickpeas begin to stick together in large clumps, gently separate them. If the mixture appears too wet, try adding a little cornflour; however, be careful not to add too much, as this can result in an overly thick coating—add it gradually. Do not let the coated chickpeas sit for too long before frying.
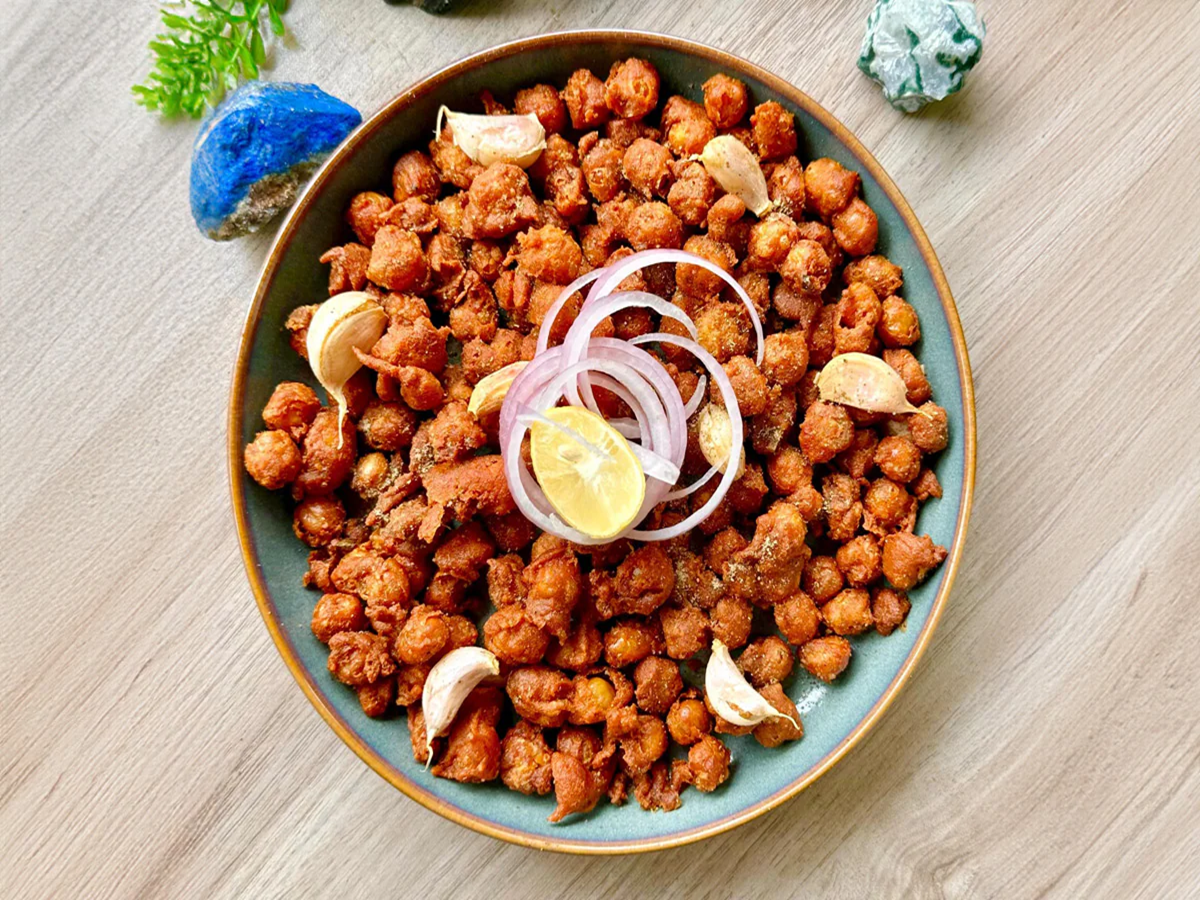
Fry in small batches.
Heat the oil in a pan and test the temperature by adding a small portion of the coated mixture. If it rises to the surface slowly and bubbles form around it, the oil is ready. The oil should not be smoking. Carefully add the chickpeas in small batches, and avoid stirring them immediately. Once the coating begins to set, gently separate the chickpeas using a slotted spoon. Fry over medium heat until they become crispy. Adding too many chickpeas at once can cause the oil temperature to drop and the coating to stick together. Once fried, remove the chickpeas and allow any excess oil to drain off.
PC Social Media